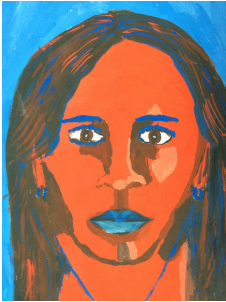
COMPLEMENTARY PORTRAIT PAINTING
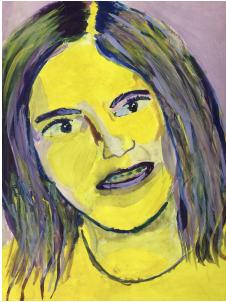
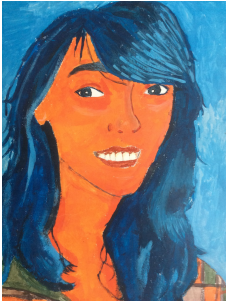
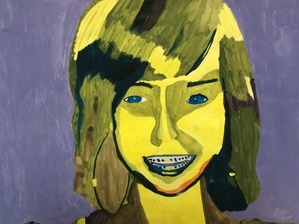
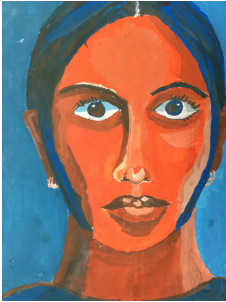
You will create a portrait using one pair of complementary colours.
You will understand that using complementary colours next to one another makes each colour appear brighter.
You will understand that using complementary colours next to one another makes each colour appear brighter.

PROCESS - GRADING CRITERIA
Your entire process will be evaluated.
PROCESS
colour wheel: colours & technique
PRODUCT
- Shape and proportion. Accurate/consistent line drawing. Shape accuracy, details
- Elements and principles of design: colour. Colour scheme accuracy.
- Craftmanship, technique. Overall presentation, neatness. Control to tools/media.
IMPORTANT
PROCESS
colour wheel: colours & technique
PRODUCT
- Shape and proportion. Accurate/consistent line drawing. Shape accuracy, details
- Elements and principles of design: colour. Colour scheme accuracy.
- Craftmanship, technique. Overall presentation, neatness. Control to tools/media.
IMPORTANT
- Work focused.
- The work must be completed and submitted in order to pass.
1 |
HOMEWORK Print a picture of your head and shoulders, as big as possible. A4 size. |
2 |
Circle round the highlights and shadows in your face, on your photo. |
3 |
Draw you portrait with pencil on a drawingpaper, use a grid to make it easier. Don't forget to draw the highlights and shadows. Erase the grid. |
4 |
Paint you portrait with the complementary colours of your choice. |
5 |
Mix complementary colours to get a darker colour. Mix with white to get a lighter colour. You're not allowed to use black. |
1 |
Print a black and white posterized picture of your head and shoulders, as big as possible. The image needs to be very contrasted. We are going to make the darks darker and lights lighter. We will exaggerate the contrast. This is your reference picture. |
2 |
Draw a grid on your photo. Use the width of the ruler to measure the space between the lines. |
3 |
Draw a grid on your drawing paper. Note: Do not apply pressure on your pencil while drawing the lines. Pencil's weight alone will produce enough pressure for the line. The lines should be very thin and light. |
4 |
Lightly draw your photo image onto the paper in pencil. Carefully draw all different shapes. Details are extremely important. The more accurate your drawing is, the more successful your painting will be. |
5 |
Erase the grid lines lines completely before the painting steps. |
6 |
Choose a complementary contrast (yellow-purple green-magenta blue-orange) Paint lightest colour: Paint in all shapes that are the lightest hue in your reference photo. Note: In general, it's always better to mix more than you will need, because it can be difficult remembering which concoction of colors made that one specific color! |
7 |
Paint the darkest colour: Use the complementary colour and complete painting the portrait. |
8 |
Evaluate
|
